This is the first in a series of blog posts that describe how to deploy a Rails application to Elastic Beanstalk in a Virtual Private Cloud (VPC) on Amazon AWS.
In this post we will setup a new VPC to host our Elastic Beanstalk application and Database servers.
This involves the creating the following objects:
- A new VPC
- Public and Private subnets in each availability zone
- An Internet Gateway and routing table entries for the public subnets
- A NAT gateway and routing table entries for the private subnets
- Security groups for a Bastion server, Web servers and Database servers
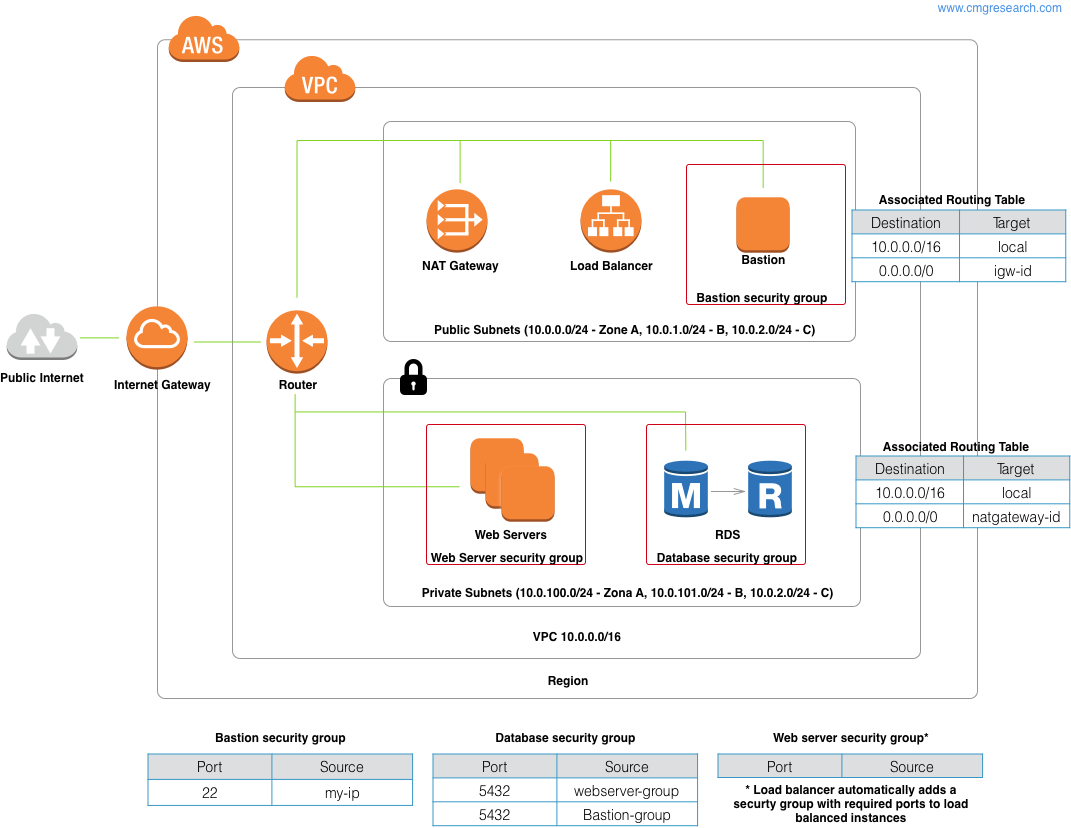
At the end of this we will have something that looks like the diagram below:

You can download this image for your own use as a PDF, SVG, PNG, Sketch.
The video embedded below walks you through this process:
VPC setup
To configure a VPC you need to select a range of private IP addresses. Valid ranges for these are:
| Start | End |
|---|---|
| 10.0.0.0 | 10.255.255.255 |
| 172.16.0.0 | 172.31.255.255 |
| 192.168.0.0 | 192.168.255.255 |
When you setup a VPC you configure the address space using CIDR format. The minimum number of mask bits that you can use is 16. This gives you a maximum number of ip addresses in a VPC of 65534. We’ll divide this address space up among the subnets that we will create in our VPC.
For the example in this blog post and associated video I’ve used 10.0.0.0/16. You can use this handy CIDR calculator for working out address ranges.

For the tennancy make sure this is set to default. If you change this to dedicated then every instance you launch in your VPC will use dedicated hosting (even if you specify a different setting when you create the instance).
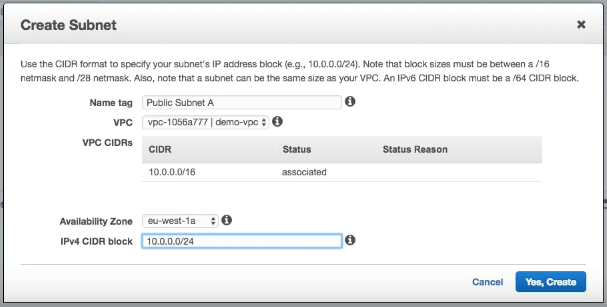
Subnet Setup
To support failover between availability zones you need to have a subnet in each availability zone. As we are creating a public and private set of subnets we will need 2 subnets in each zone.
To make distinguishing public and private subnets easier I use the convention of starting my public subnets at 10.0.0.0 and my private subnets at 10.0.100.0.
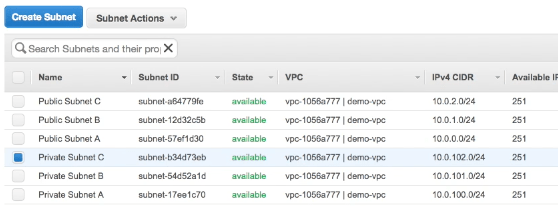
| Zone | Subnet CIDR | Subnet Name |
|---|---|---|
| A | 10.0.0.0/24 | Public Subnet A |
| B | 10.0.0.0/24 | Public Subnet B |
| C | 10.0.0.0/24 | Public Subnet C |
| A | 10.0.0.0/24 | Private Subnet A |
| B | 10.0.0.0/24 | Private Subnet B |
| C | 10.0.0.0/24 | Private Subnet C |
Depending on the AWS region you are creating, you may have more availability zones. You should create additional subnets to cover all the zones in your region.
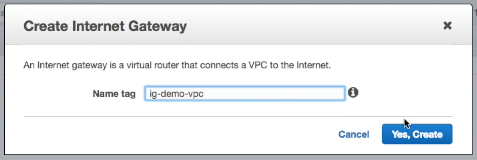
Internet Gateway
To comminicate from our public subnet to the internet and for the internet to be able to see machines running inside our public subnet we need to add an internet gateway. We also need to add routing tables so that our VPC router knows how to route traffic to our internet gateway.
We create an internet gateway:
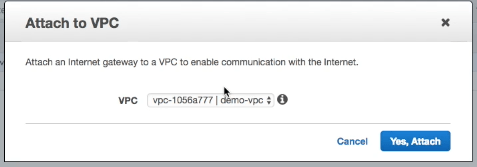
Attach it to our VPC:
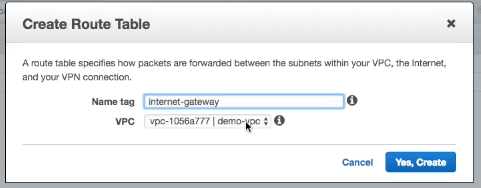
To setup the routing for out inernet gateway we create a new routing table in our VPC:
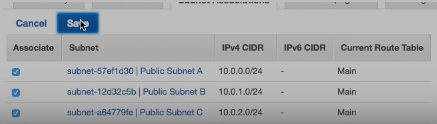
This new routing table is associated with our Public Subnets:
And we add a new route with a destination of 0.0.0.0/0 with a target of our internet gateway.

This means that instances in our public subnet can communicate to the internet and that the internet can now see instances in our public subnet.
NAT Gateway
For our private subnets we don’t want our instances to be visible from the internet, but we do want the instances to be able to access the internet. For this we will create a NAT gateway.

Associate it with our Private Subnets and create a route with a destination of 0.0.0.0/0 and target of our new NAT gateway.
Security Groups
We will need the following security groups configured for our VPC:
- Bastion Servers
- Web Servers
- Database Servers
For our bastion server we want a much security as possible. Ideally we should only open port 22 for ssh and only allow connections from our own IP address.
For added security you should add 2 factor authentication to your bastion server and only have it running when you need to use it. The rest of the time you should turn off the instance that is running your bastion server.
The web server security group can be setup with no incoming ports. We should not need to ssh onto our web servers as any configuration should be taken care of by our Elastic Beanstalk environment. Access to HTTP(S) ports is added automatically by the Elastic Load Balancer.
For our Database Servers, we need to open a port for our database (for Postgresql this is 5432) and allow access from our Web Server security group and also from our Bastion Server security group. You may only want to add access from the Bastion Server group on an as needed basis.
All done!
That concludes configuring our VPC. We’ve setup public and private subnets in our availability zones, create Internet and NAT gateways along with the necessary routing tables, and we’ve created a set of security groups for controlling access to the instances we deploy to our VPC.
In the next post we’ll deploy an Elastic Beanstalk application in our VPC.